TL;DR:
- Making your own herbal tinctures offers transparency and control over ingredients, enhancing your natural wellness routine.
- Proper preparation and storage ensure potent, safe extracts that can last up to five years while supporting various health goals.
You scan the label on a store-bought herbal tincture and realize you can't pronounce half the additives listed. The alcohol content is a mystery. The herb ratio? Anyone's guess. For anyone serious about natural wellness, that lack of transparency is genuinely frustrating, and it's exactly why making your own herbal tinctures at home has become one of the most empowering skills in the holistic health space. This guide walks you through every step, from choosing your herbs to bottling your finished remedy, so you can build a personalized herbal practice rooted in real knowledge and full ingredient control.
Table of Contents
- Understanding herbal tinctures and their benefits
- What you need: Materials, ingredients, and safety essentials
- Step-by-step: How to make herbal tinctures at home
- Troubleshooting and tips: Common mistakes and how to avoid them
- How to use and store your finished tincture
- Our take: Why DIY tincture-making is about empowerment, not just economy
- Elevate your herbal wellness journey with Finer Holistics
- Frequently asked questions
Key Takeaways
| Point | Details |
|---|---|
| Gather the right materials | Using quality herbs and proper alcohol ensures safety and potency in your tinctures. |
| Follow step-by-step instructions | A clear process—from prepping to bottling—leads to more consistent and effective herbal tinctures. |
| Learn from mistakes | Troubleshooting common issues like low strength or mold helps you refine your results each time. |
| Label and store properly | Correct labeling and storage maximize safety and extend the shelf life of your homemade tinctures. |
| DIY empowers wellness | Making your own tinctures puts control of herbal health and personalization in your hands. |
Understanding herbal tinctures and their benefits
Herbal tinctures are concentrated liquid extracts made by soaking plant material in alcohol and water. The alcohol acts as a solvent, pulling active compounds like alkaloids, flavonoids, and volatile oils out of the plant and preserving them in a stable, bioavailable form. When you use alcohol as the extraction base, you're getting a far more potent and shelf-stable product than a simple tea can provide.
What makes tinctures particularly appealing to wellness-focused individuals is the combination of concentration, convenience, and consistency. A few drops of a well-made echinacea or elderberry tincture delivers plant compounds in a form your body absorbs quickly, especially when taken under the tongue (called sublingual absorption). You get the benefits faster and in smaller doses than you would from steeping dried herbs in hot water.
Here's a quick look at why tinctures stand out compared to other herbal formats:
- Concentration: Tinctures pack far more herbal potency per milliliter than teas or capsules
- Shelf life: Alcohol-preserved tinctures remain potent for two to five years when stored correctly
- Easy dosing: Droppers allow precise, repeatable dosing tailored to your body's needs
- Speed of absorption: Sublingual use bypasses the digestive system for faster uptake
- Versatility: Tinctures can be taken straight, diluted in water, or added to herbal drinks
People use tinctures across a wide range of wellness goals. Immune support blends often feature elderberry, echinacea, or astragalus. Digestive tinctures commonly include ginger, fennel, or dandelion root. For relaxation and sleep, passionflower, valerian, and lemon balm are popular choices. Understanding the herbal nutrition benefits behind each plant helps you choose with intention rather than guesswork. To explore the full landscape of plant-based remedies, the types of herbal remedies available can help you figure out where tinctures fit into your routine.
What you need: Materials, ingredients, and safety essentials
To get started, it's essential to gather the right materials and understand crucial safety guidelines. Skipping this step is where most beginners go wrong, and the result is either a weak tincture or, worse, a contaminated one.
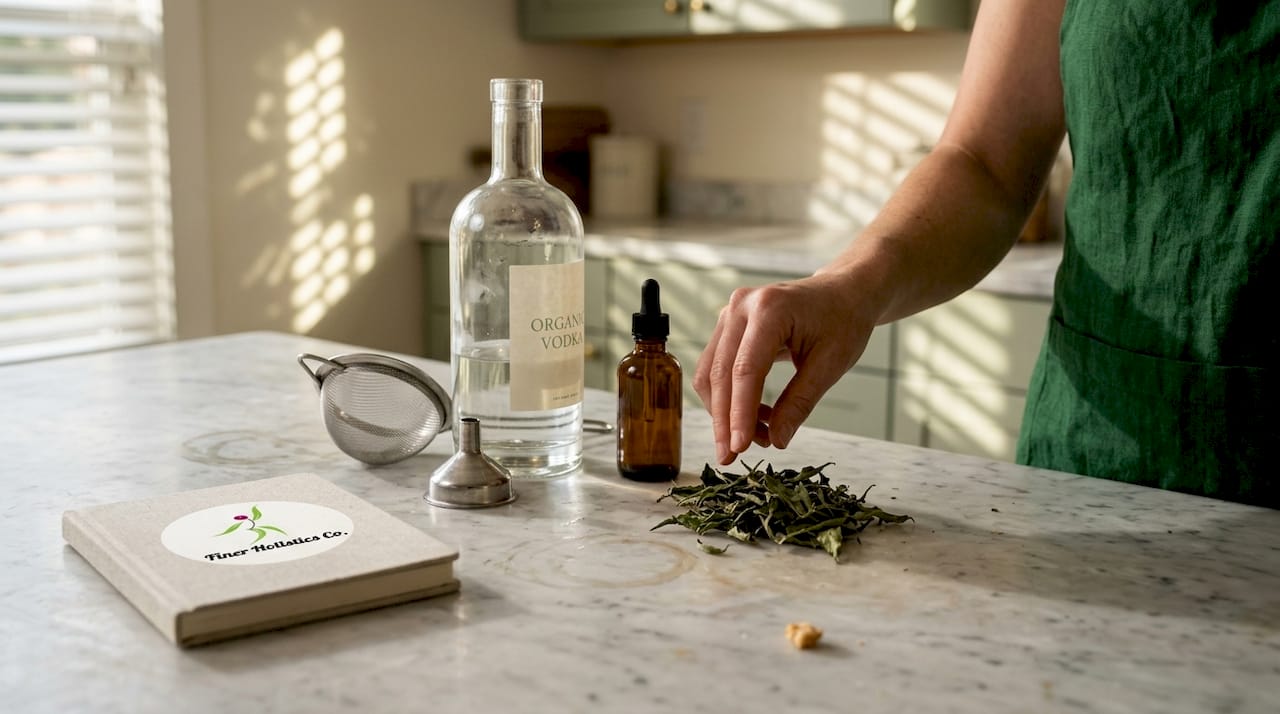
Essential tools and materials:
- Glass mason jars (wide-mouth, 8 oz or 16 oz work well for most batches)
- Fine mesh strainer and unbleached cheesecloth for straining plant material
- Amber glass dropper bottles for final storage (protects from light degradation)
- Labels with herb name, alcohol type, date, and steeping duration
- Kitchen scale for measured-method batches
- Food-grade alcohol at the appropriate proof for your herbs
Choosing the right alcohol is arguably the most important decision in tincture-making. Alcohol strength varies: 40 to 50% (80-proof vodka) works well for most leaves and flowers, 50 to 60% is better suited for roots and bark, and 70 to 95% is recommended for resins and fresh aromatics. Using the wrong proof means some plant compounds won't fully dissolve, leaving you with a weaker extract.
Choosing your method:
There are two primary approaches to making tinctures. The folk method involves loosely filling a jar with herbs and covering them with alcohol without precise measurement, which approximates a 1:4 to 1:6 herb-to-alcohol ratio. It's ideal for beginners because it doesn't require a scale or exact math. The measured (or weight-to-volume) method uses a precise ratio, commonly 1:5 for dried herbs, and gives you a consistent, repeatable product batch after batch.
| Feature | Folk method | Measured method |
|---|---|---|
| Equipment needed | Jar, alcohol | Jar, scale, measuring tools |
| Skill level | Beginner | Intermediate |
| Consistency | Variable | High |
| Best for | Single herbs, home use | Blends, repeated formulas |
| Potency control | Approximate | Precise |
For safety, always work with clean, sterilized jars to prevent mold. Use herbs sourced from reputable suppliers, especially when you're starting out. If you're new to plant medicine, the herbal remedy beginner guide is a solid foundation before you start mixing. And always follow herbal safety practices to know which herbs require extra caution, particularly for those who are pregnant, nursing, or on medications.
Remember: Some herbs like black cohosh, comfrey, and pennyroyal carry real safety concerns. Research each herb thoroughly before making or using any tincture.
Pro Tip: Buy organic, food-grade vodka for your first few batches. It's widely available, affordable, and sits right in the 40% ABV sweet spot for most beginner herbs like chamomile, lemon balm, and calendula.
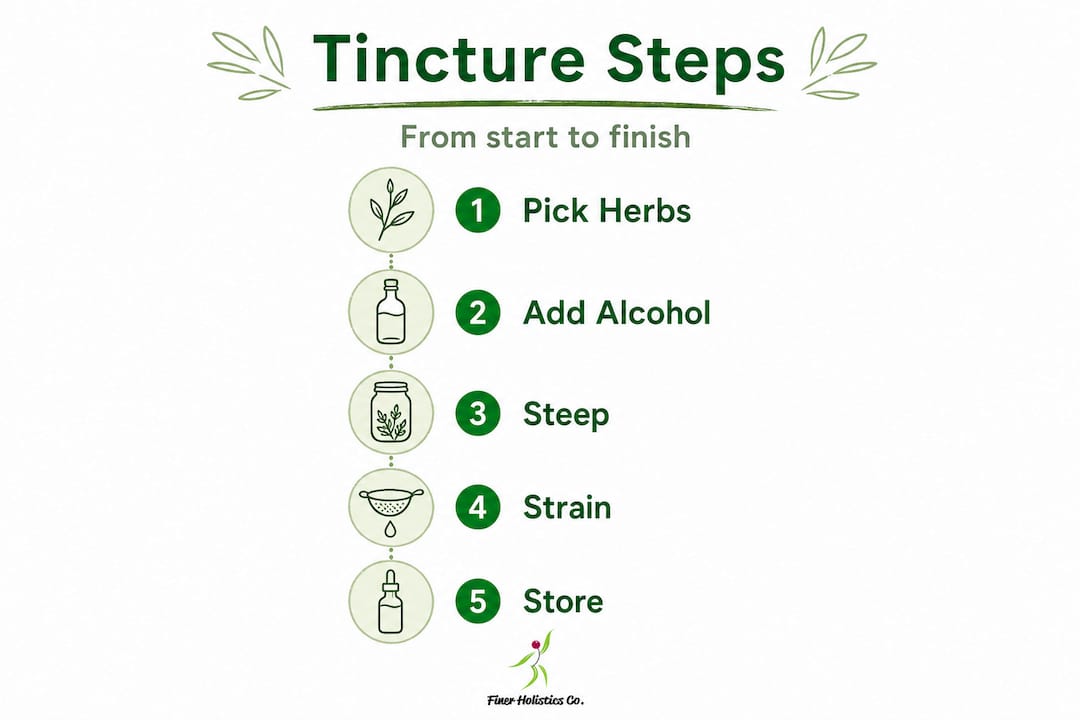
Step-by-step: How to make herbal tinctures at home
Once you have everything ready, you're set to begin the hands-on process. This walkthrough uses the folk method, which is the best starting point for most home practitioners.
-
Choose and prepare your herbs. Select a single herb to start. Dried herbs are easiest for beginners. Measure out enough to loosely fill your jar about halfway to two-thirds full. If using fresh herbs, chop or bruise them first to break down plant cell walls and improve extraction efficiency.
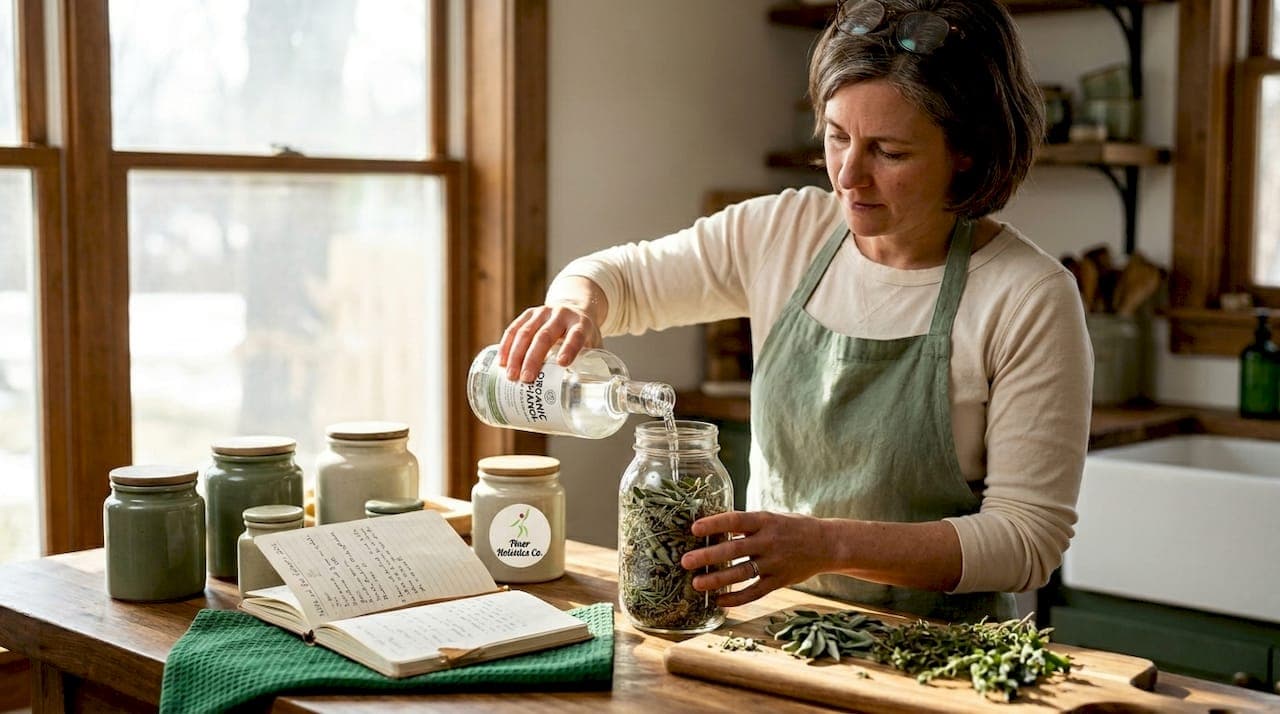
-
Add your alcohol. Pour your chosen alcohol over the herbs until they are completely submerged, filling the jar to the top. Make sure no plant material is sticking out above the liquid level. Trapped air exposure invites mold.
-
Seal and label immediately. Put the lid on tightly and write your label right away. Include the herb name, alcohol type and proof, the date you started, and your planned straining date. This habit saves confusion weeks later when you have multiple jars going.
-
Steep in a cool, dark location. Store your jar away from direct sunlight and heat. A pantry shelf or a cabinet works well. Steep for a minimum of four weeks, with six to eight weeks being ideal for most herbs. Roots and bark often benefit from a full eight weeks.
-
Shake daily or as often as you can. Agitation encourages better extraction by keeping plant material moving through the alcohol. Even shaking every few days makes a noticeable difference in potency.
-
Strain your tincture. After steeping, pour the contents through a cheesecloth-lined strainer into a clean bowl. Gather the cheesecloth and squeeze firmly to extract every last drop of liquid. This step is worth taking your time on since that liquid is your finished product.
-
Bottle and store. Transfer your strained tincture into amber dropper bottles using a small funnel. Label each bottle with the herb, the date it was strained, and an expiration date two to five years out. Store in a cool, dark cupboard.
Refer to this quick-reference guide for steeping times by herb type:
| Herb type | Recommended steeping time | Alcohol proof |
|---|---|---|
| Leaves and flowers | 4 to 6 weeks | 80-proof (40%) |
| Roots and bark | 6 to 8 weeks | 100-proof (50%) |
| Fresh herbs | 4 to 6 weeks | 190-proof (high %) |
| Resins | 2 to 4 weeks | 190-proof (high %) |
The folk method is specifically designed to accommodate casual, intuitive herb work without sacrificing quality when done correctly. Once you've mastered a single herb tincture, you can build complexity with blends. For anyone interested in pairing tincture use with a more structured wellness plan, our step-by-step herbal cleanse gives you a great framework.
Pro Tip: Write the steeping end date on a sticky note and put it on your fridge. It's easy to forget about a jar tucked in the pantry, and over-steeping for months on end can introduce unwanted bitterness.
Troubleshooting and tips: Common mistakes and how to avoid them
Even the most careful tincture makers encounter snags. Here's how to troubleshoot and make each batch better than the last.
Common problems and their fixes:
- Mold growth: This almost always happens when plant material rises above the alcohol level. Keep all herbs fully submerged and shake the jar regularly to prevent pockets of exposed material.
- Weak or watery potency: Usually caused by using alcohol that's too low in proof, not steeping long enough, or using herb that was too old. Check your alcohol strength and always use herbs purchased within the last year.
- Leaking lids: Many mason jar lids are not fully alcohol-proof over time. Store jars upright and check lids periodically. A small piece of parchment paper between the lid and jar can help reduce corrosion.
- Cloudy tincture: Some cloudiness is normal, especially with certain roots and fresh plant material. If it smells fine and was made correctly, cloudiness is not a safety concern.
- Off smell or taste: A rancid or genuinely unpleasant odor that isn't typical for the herb is your signal to discard the batch and start fresh.
Trust your senses. A tincture that smells or looks wrong probably is. No wellness benefit is worth the risk of consuming something contaminated.
Proper storage matters beyond the steeping phase, too. Keep finished tinctures away from heat, humidity, and light. Bathrooms are the worst storage spot despite being convenient. A dedicated drawer in your kitchen or a small box in a bedroom closet serves better. For a deeper look at the broad world of herbal remedy types and their distinct handling needs, exploring different formats helps round out your herbal knowledge.
Pro Tip: Keep a simple notebook or app log of every batch you make. Write down the herb, source, alcohol used, steeping duration, and your notes on the final taste and color. After five or six batches, patterns emerge and your skill level jumps considerably.
How to use and store your finished tincture
After your tincture is made, using and storing it well preserves its wellness value.
Most tinctures are taken as 20 to 40 drops (roughly one to two dropperfuls) diluted in a small amount of water, juice, or herbal tea. Sublingual use, meaning you place drops under your tongue and hold them for 30 to 60 seconds before swallowing, increases absorption speed noticeably. For digestive herbs, taking your tincture 15 minutes before meals tends to be most effective.
Storage and usage best practices:
- Store finished tinctures in amber or cobalt glass dropper bottles to block light
- Keep at room temperature or slightly cooler, ideally between 60 and 75°F
- Avoid humidity, which can compromise dropper caps and labels over time
- Label every bottle with the herb name, batch date, and expiration date
- Check for color changes, sediment shifts, or off odors before each use as an ongoing safety habit
- Discard tinctures that smell rancid, show signs of contamination, or have been stored improperly for extended periods
For those exploring tincture use as part of a broader herbal wellness routine, learning about herbal elixir uses can inspire creative and intentional ways to integrate plant remedies into daily life.
Pro Tip: Invest in a small silicone dropper tray with multiple labeled slots. It keeps your active tinctures organized and reminds you to take them consistently, which matters far more than the perfect formula.
Our take: Why DIY tincture-making is about empowerment, not just economy
People often assume the biggest draw of making your own tinctures is saving money. It's not. The real reward is something harder to quantify.
When you crack open a jar after six weeks and smell the concentrated aroma of echinacea or valerian you steeped yourself, something shifts. You're no longer a passive consumer of wellness products. You're a participant. That shift in identity drives deeper consistency with your health habits than any supplement routine ever could.
We've seen this pattern repeatedly through the Finer Holistics community. The people who make their own tinctures, even imperfect ones, develop a far more nuanced relationship with their bodies. They notice what works. They notice what doesn't. They start asking better questions. "Why does my digestion feel better on fennel days?" or "Why do I sleep deeper when I take valerian consistently?" These are the kinds of self-observations that genuinely move the needle on long-term wellness.
There's also an important connection to tradition worth acknowledging. Herbal tincture-making has roots going back centuries across nearly every culture. When you practice this craft, you're connecting to a lineage of healers who trusted plants before pharmaceuticals existed. That's not romantic idealism. It's a real anchor for building an intentional wellness practice. Understanding traditional herbalism can deepen that sense of connection and give your practice historical grounding.
Cost savings will come. But lead with curiosity, not frugality, and you'll get far more out of the process.
Elevate your herbal wellness journey with Finer Holistics
Making your own tinctures is a meaningful step toward a more intentional health practice. But some wellness goals call for expert-crafted formulas built with the kind of precision and sourcing knowledge that takes years to develop.
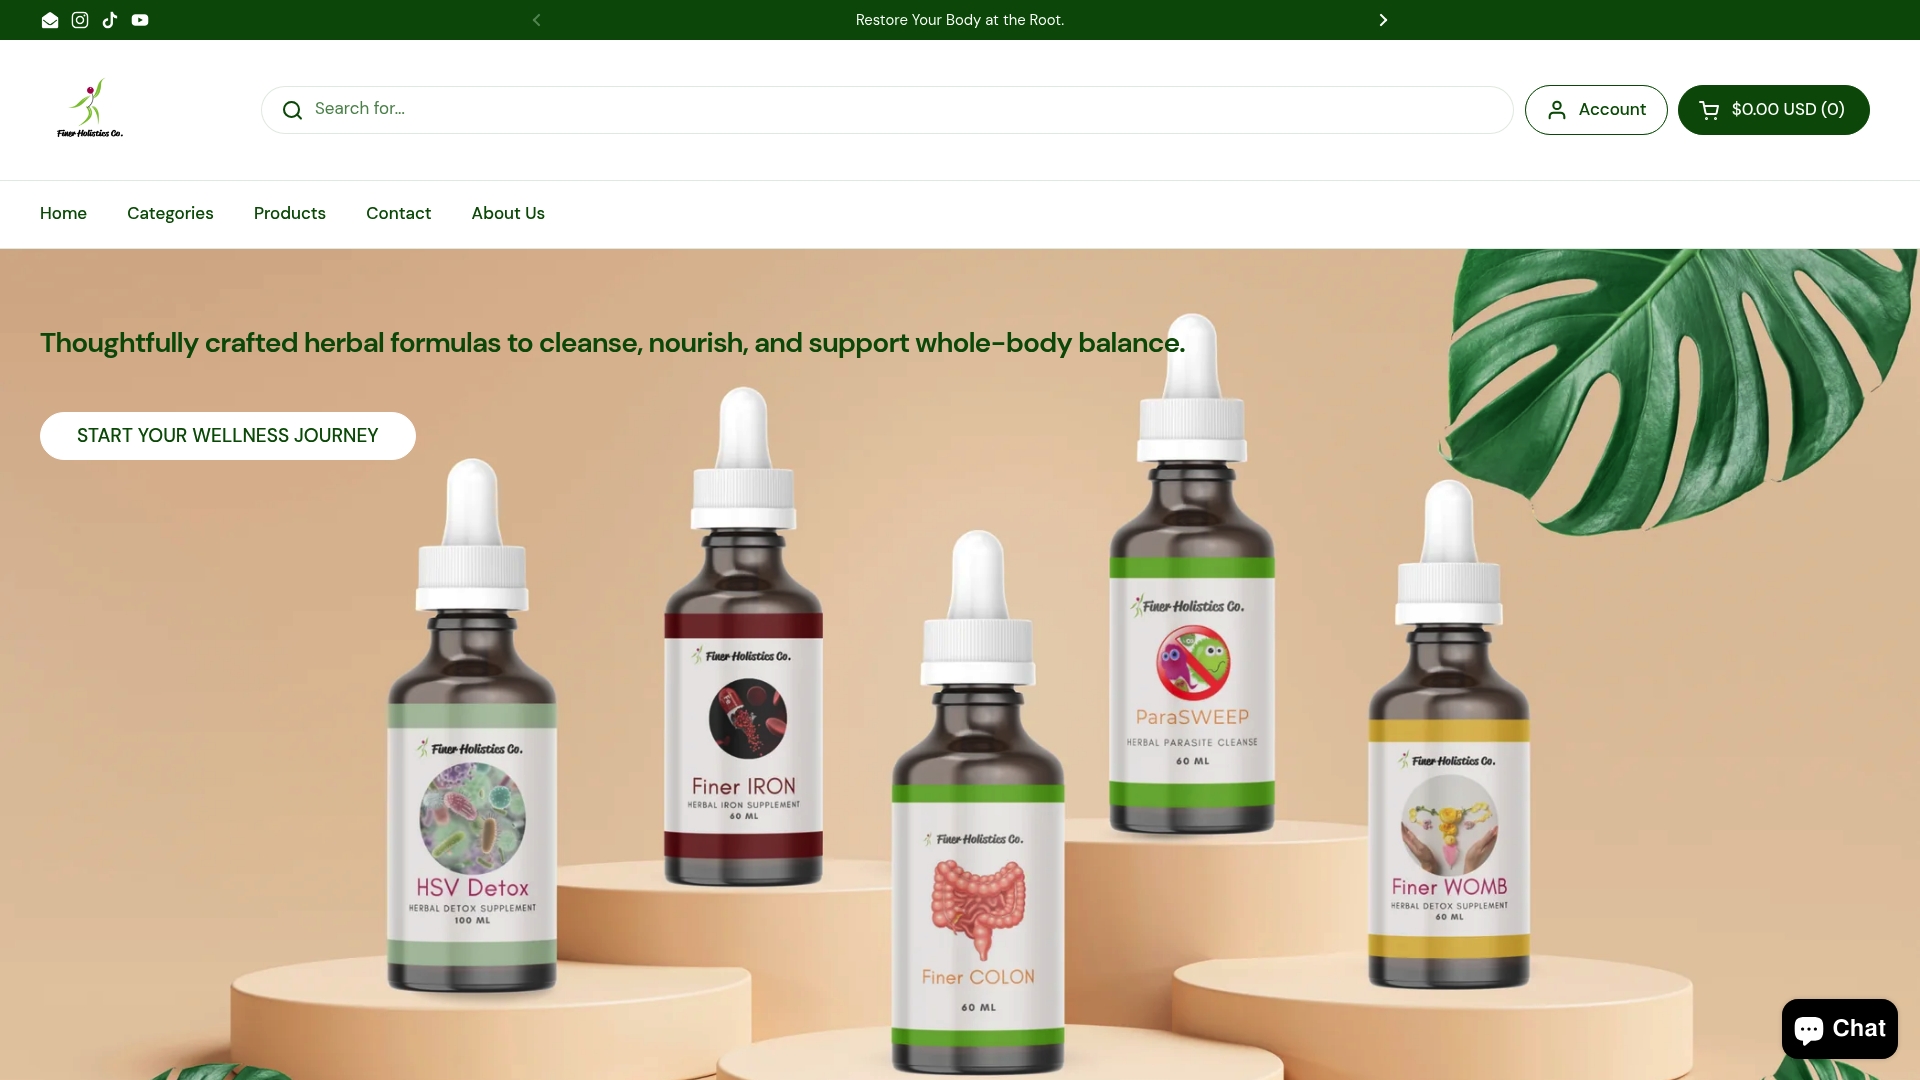
At Finer Holistics, our handcrafted herbal remedies are designed to complement your DIY efforts, not replace them. Whether you're ready to explore our herbal detox remedies or want a curated starting point with our detox starter pack, we've done the sourcing, formulating, and testing so you can focus on feeling your best. Browse everything we offer at Finer Holistics and find the herbal support that fits where you are in your wellness journey right now.
Frequently asked questions
What is the safest alcohol to use for tinctures?
The safest and most common choice is 80-proof vodka (40% alcohol), which is effective for most leaves and flowers without introducing unnecessary additives.
How long do homemade herbal tinctures last?
Properly made alcohol-based tinctures can last up to five years if stored in a cool, dark place in sealed amber glass bottles.
Can I make tinctures with fresh herbs?
Yes, fresh herbs work well, but they require higher-proof alcohol (70 to 95%) to account for their natural moisture content and prevent spoilage.
What is the folk method for tinctures?
The folk method means loosely filling a jar with herbs, covering them completely with alcohol, and steeping without exact measurements, approximating a 1:4 to 1:6 herb-to-alcohol ratio.
Why does the alcohol percentage matter?
Different plant compounds dissolve at different alcohol concentrations, so using the wrong proof means incomplete extraction and a weaker, less effective tincture overall.